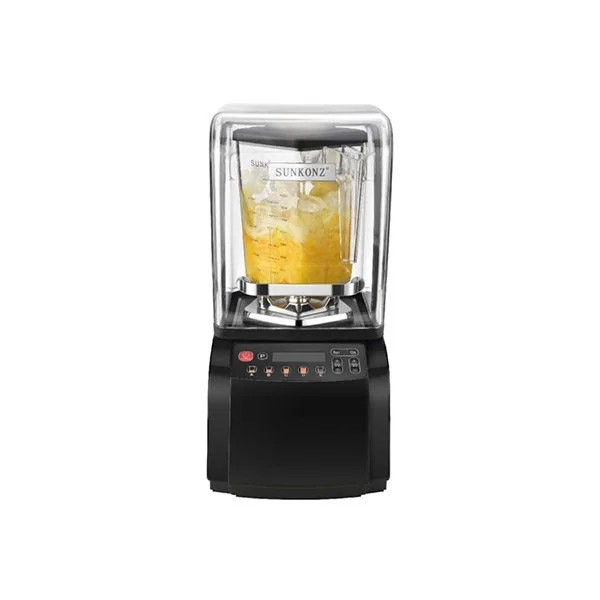
Commercial drink blenders are essential equipment in restaurants, juice bars, coffee shops, and other food-service establishments. These machines are designed to handle heavy-duty tasks, from blending smoothies and milkshakes to crushing ice and pureeing ingredients. However, with constant use comes the need for thorough cleaning to maintain hygiene, extend the blender's lifespan, and ensure every drink tastes fresh and uncontaminated. In this blog post, as a professional supplier, SUNKONZ will share how to clean a multi-function commercial drink blender for sale.
Why Regular Cleaning is Important
Before diving into the cleaning process, it's essential to understand why maintaining a clean blender is critical:
1. Hygiene and Food Safety: Food residue left in the blender can harbor bacteria, mold, and unpleasant odors. Regular cleaning prevents contamination and ensures compliance with food safety regulations.
2. Performance: A dirty blender can suffer from sticky blades, blockages, or motor strain. Keeping it clean helps the machine function at its best.
3. Flavor Integrity: Residues from one drink can mix into the next, creating unwanted flavor cross-contamination.
4. Durability: Proper cleaning prevents long-term damage caused by stuck food particles or corrosion.
Now, let's explore how to properly clean your multi-function commercial drink blender.

Step-by-Step Guide to Clean Your Commercial Blender
1. Safety First: Unplug the Blender
Always unplug the blender from the power source before cleaning. This ensures safety and prevents accidental activation of the blades, which can cause injury.
2. Disassemble the Blender
Start by taking apart the components of the blender. Typically, a commercial blender consists of:
- The blending jar or pitcher
- The lid
- The blade assembly (if removable)
- The sealing ring (gasket)
Carefully remove all detachable parts. If the blades are fixed to the jar, do not attempt to force them out.
3. Pre-Rinse the Blender Jar
After disassembling, rinse the blender jar under warm water to remove any leftover liquid or food debris. Do this as soon as possible after use to prevent ingredients from drying and sticking to the walls of the blender jar.
4. Soak the Parts
For a deeper clean, fill a sink or basin with warm water and add a mild dish soap. Soak the blender jar, lid, and gasket for about 5-10 minutes. Avoid using extremely hot water, as it may damage the components.
If you notice any stubborn stains or food residue, soaking will loosen them, making the cleaning process easier.
5. Clean the Blender Jar and Lid
- Use a soft sponge or cloth to clean the jar thoroughly, including the inside corners where residue often sticks.
- For the lid and gasket, ensure all nooks and crevices are scrubbed clean.
- Avoid abrasive pads or harsh scrubbers, as these can scratch or damage the blender jar, especially if it’s made of plastic.
6. Clean the Blades
The blades are a critical component of the blender, and food residue can easily get trapped under or around them.
- If the blade assembly is removable, clean it carefully with a sponge or brush. Use caution to avoid cutting yourself.
- If the blades are fixed, pour warm water with a drop of dish soap into the blender jar, secure the lid, and run the blender on a low speed for 30 seconds. This will help clean the blades and dislodge any stuck debris.
Rinse the jar thoroughly after blending the soapy water.
7. Sanitize the Blender
Sanitizing is an important step to ensure the blender is free from bacteria or germs. Here’s how:
- Mix 1 teaspoon of bleach with 1 liter of water.
- Pour the solution into the blender jar, let it sit for 2-3 minutes, and then rinse thoroughly with clean water.
- Alternatively, use a food-safe sanitizing solution approved for commercial kitchens.
For establishments that use the blender frequently, sanitizing should be done at least once a day.
8. Wipe Down the Blender Base
The blender base houses the motor and electrical components. While it doesn’t come into direct contact with food, spills can happen.
- Use a damp cloth or sponge to wipe down the blender base.
- Do not submerge the base in water or allow water to seep into the motor.
- For sticky spills, use a mild cleaning solution but avoid abrasive cleaners that might damage the finish.
9. Dry All Components
Once all parts are clean and rinsed, air dry them completely or use a clean towel to wipe them down. Make sure no moisture remains, as this can cause mold or mildew to develop.
10. Reassemble and Store
Once dry, reassemble the blender components. Ensure the blade assembly, gasket, and lid are securely in place. Store the blender in a clean, dry location, ready for the next use.
Additional Tips for Maintaining Your Commercial Blender
- Clean Immediately After Use: The sooner you clean the blender, the easier it will be to remove food residues and stains.
- Avoid Harsh Chemicals: Stick to mild dish soap and food-safe sanitizers to avoid damaging the blender components.
- Inspect Regularly: Check for wear and tear on parts like the gasket or blade assembly. Replace them as needed to maintain optimal performance.
- Deep Clean Weekly: In addition to daily cleaning, perform a deep clean once a week by soaking all parts in a mild cleaning solution.
Conclusion
Cleaning a multi-function commercial drink blender may seem like a tedious task, but it’s crucial for maintaining hygiene, ensuring optimal performance, and extending the life of your equipment. By following these steps regularly, you'll keep your blender in pristine condition, ready to create delicious drinks for your customers every day.
A clean blender means happy customers and a smooth-running kitchen. So, make cleaning a part of your routine and keep those smoothies, milkshakes, and other beverages tasting their best!
https://www.sunkonz.net/How-to-Clean-a-Multi-Function-Commercial-Drink-Blender.html
www.sunkonz.net
SUNKONZ

